 Click
here to visit the new MEC 5x10 RealTrax DCS-TMCC layout.
Click
here to visit the new MEC 5x10 RealTrax DCS-TMCC layout.Boston and Maine in the
1950's
(a moveable O gauge layout in progress)
Last update: 11/26/2004
| Click
here to visit the new MEC 5x10 RealTrax DCS-TMCC layout. |
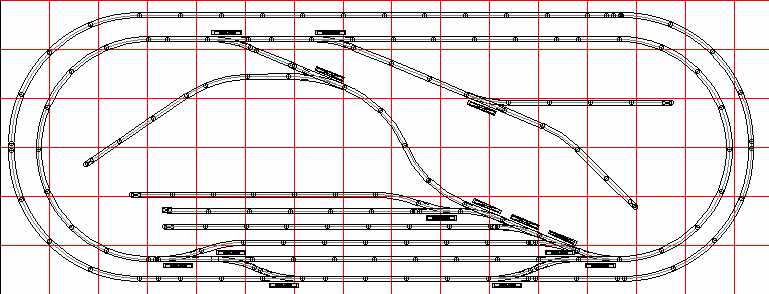
This is my layout schematic created
with RR-Track software. The layout is 6' x 16' and is constructed of
4 tables 4' x 4' and four tables of 2' x 4'. This makes it possible to
move the layout from its present location
in my attic which has a very narrow winding staircase.
Each of the modules is really a
separate table with its own legs. They are joined together with
carriage bolts to make the entire unit a solid mass. The table tops are
1/2"plywood and have been covered with 2" thick extruded
styrene foam. The foam was glued down with carpet cement. This will enable the addition of texture by
carving ravines
and streams into the foam.
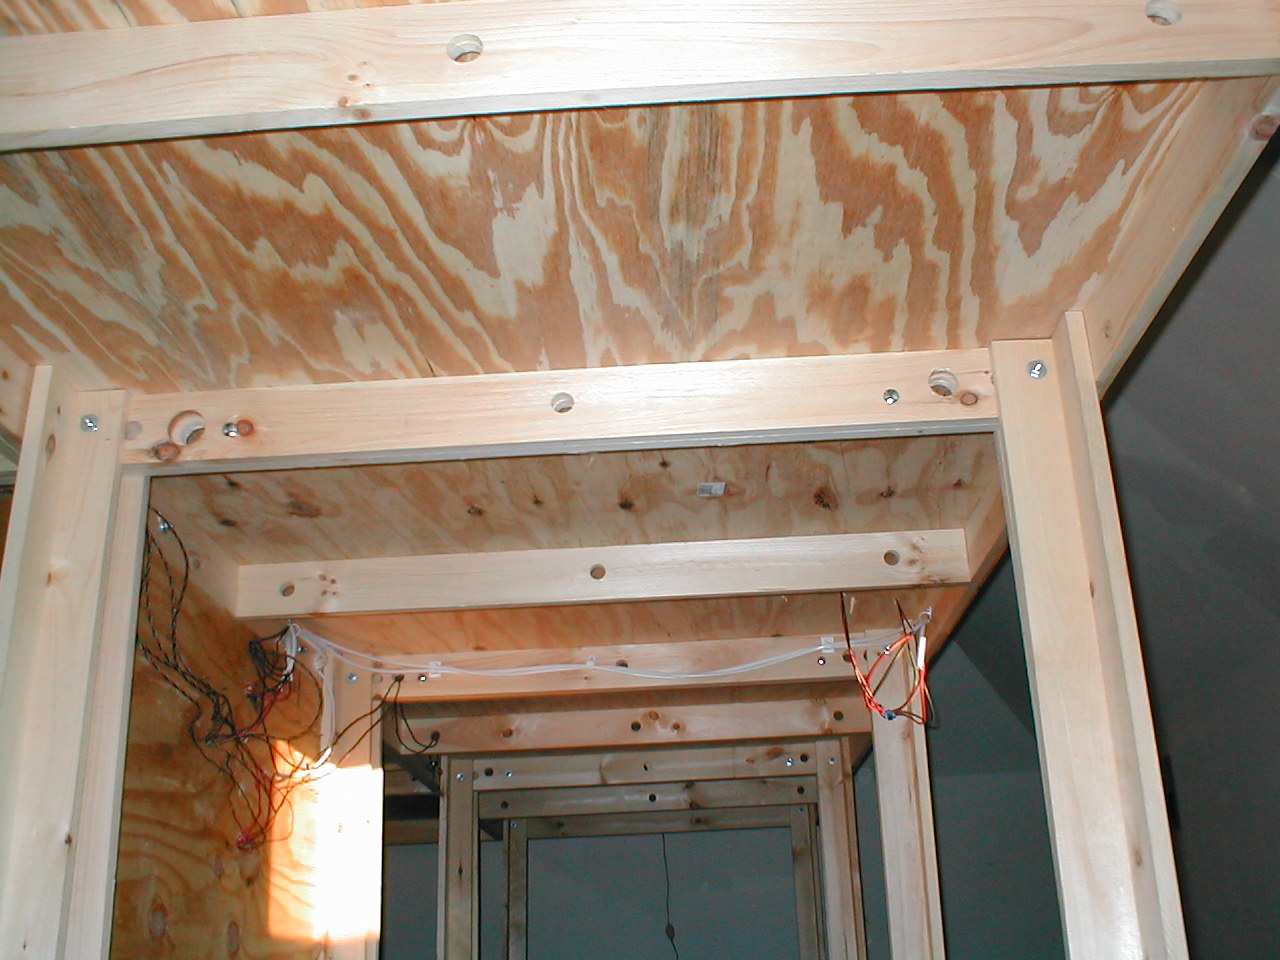 |
This is how the 4' x 4' tables look from underneath where I am spending most of my time these days. Wires are all home runs back to the panel to facilitate moving the layout. Things are still kind of temporary because everything has be removed to install the roadbed. |
| This view shows the wiring panel. Every thing either comes here or originates from here out to the layout. All wires are either lettered or numbered depending on their function. For example, all common wires are labeled with a "U" and are black in color. All wires which need to be connected back to Accessory "B" are red and labeled "B" etc. The top two terminal strips are Common. The third will be for lights and operating accessories from Accessory "C". The fourth is for Accessory "B" which is for switches and un-couplers. The DCS TIU and TMCC cable are clearly shown. | 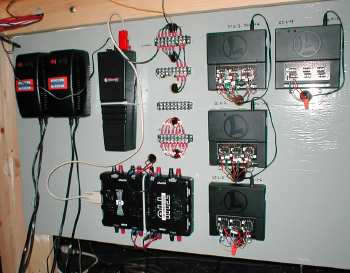 |
 |
Overlooking the yards at Somerville, MA. The foam top was painted with an earth tone latex. That pile of stuff in the corner represents the trappings of layout building. The foam will be cut away in certain areas to create 3D terrain. |
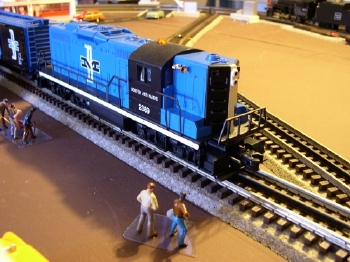
| The latest locomotive addition, an MTH Rail King RS-3 with Proto-2. The cruise control on this loco is a pleasure to use and crew talk will amaze your friends. You really don't need TMCC to enjoy switching with this loco on a small layout. | 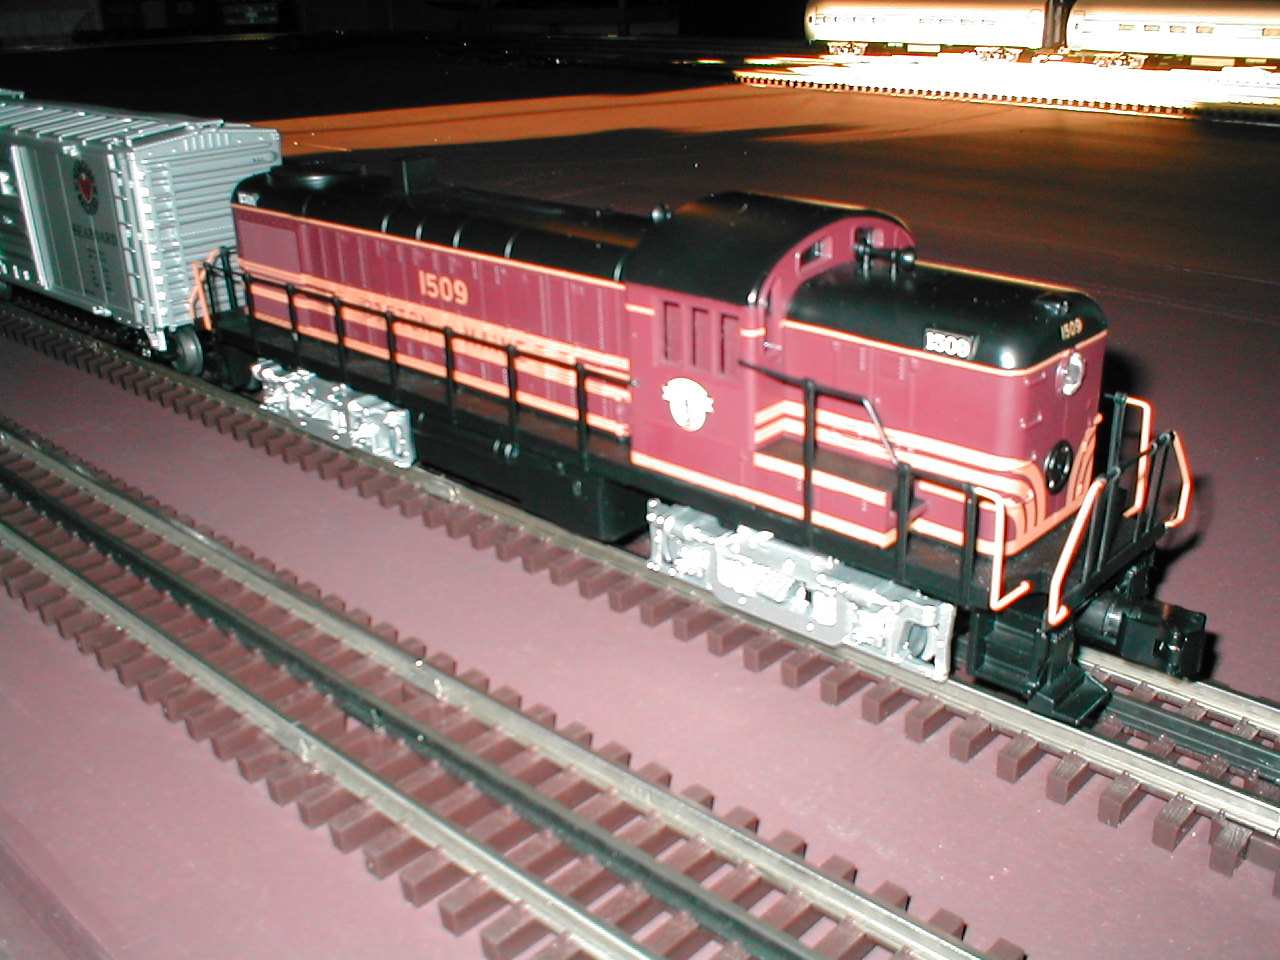 |
 |
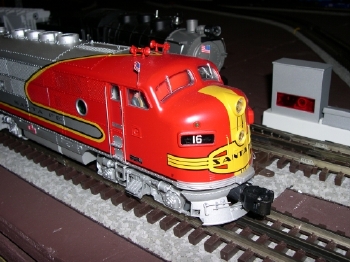
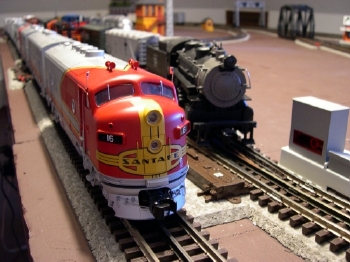
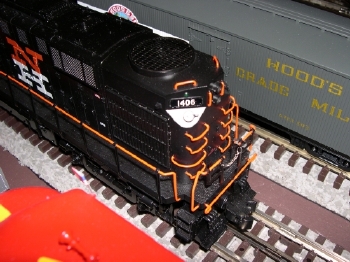
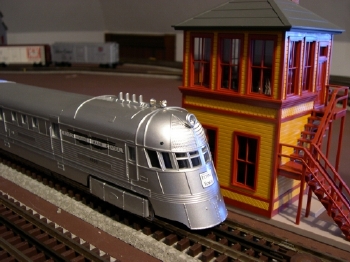
Williams E7 AA set. While more accustomed to passenger duty, this one is suffering the indignity of pulling the money maker freight. This loco has been converted to TMCC using a Train American Studios SAW board with Railsounds. The conversion was very easy and it runs like a champ with command control. |
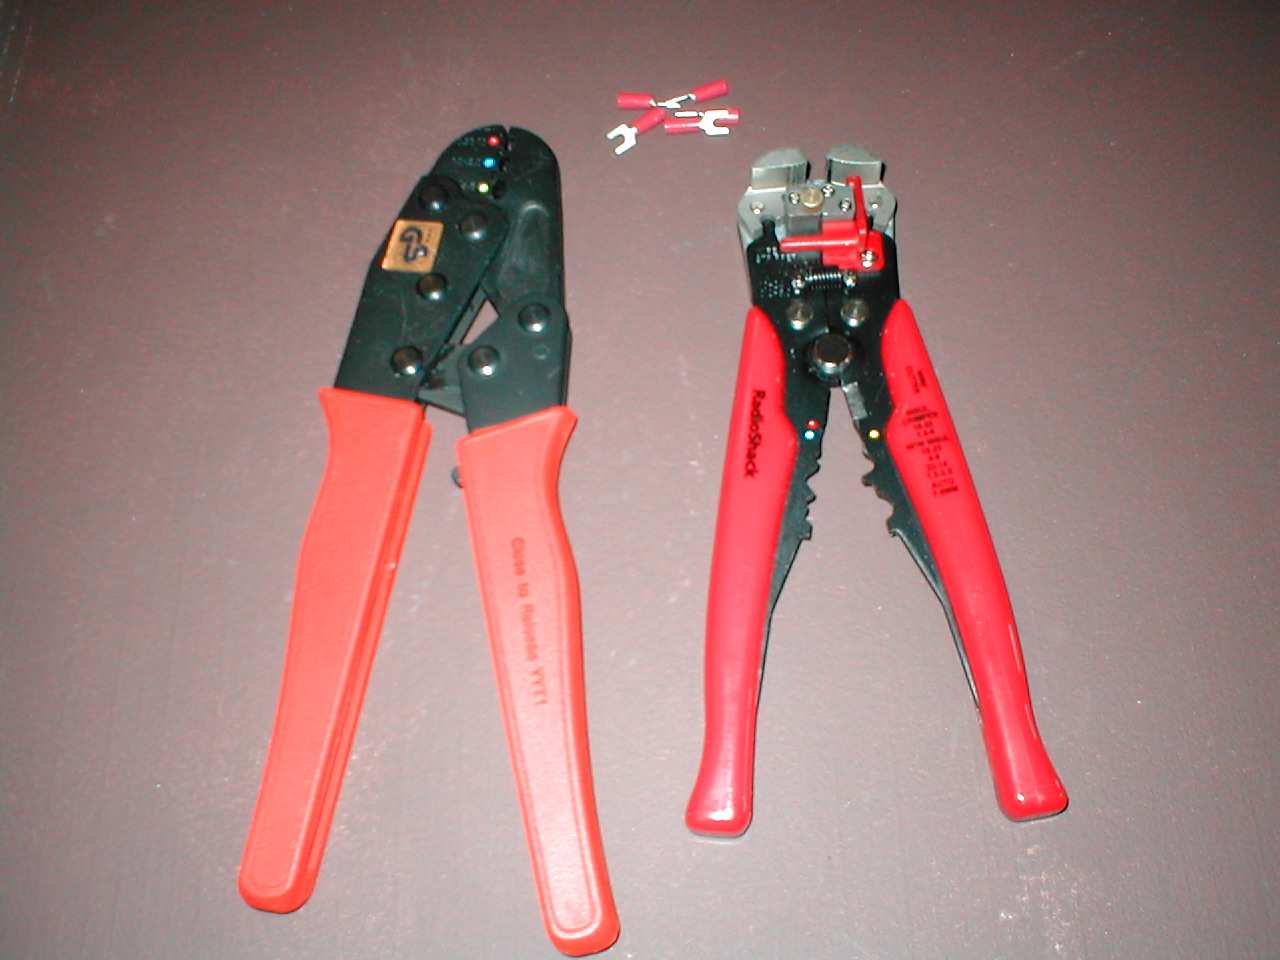
| "Father teach"...use good
tools. I have found these are the best for wiring. The stripper is from Radio Shack, the
crimper an Anchor
ratchet type available at marine stores. There is no guess work at all with this
crimper.
You put the stuff in, you squeeze until it "clicks" and you know
the joint is tight. The crimper was an obvious choice when you
compare it to the cheesy things that usually come in sets, but why on
earth did I wait so long to buy the stripper? As for wire, the layout is done entirely with stranded tinned boat wire. Track is #16 marine grade (red and black), switch machines are #20-3 (red, black, green), and lighting and accessories will be #22 (yellow and blue). |
 |
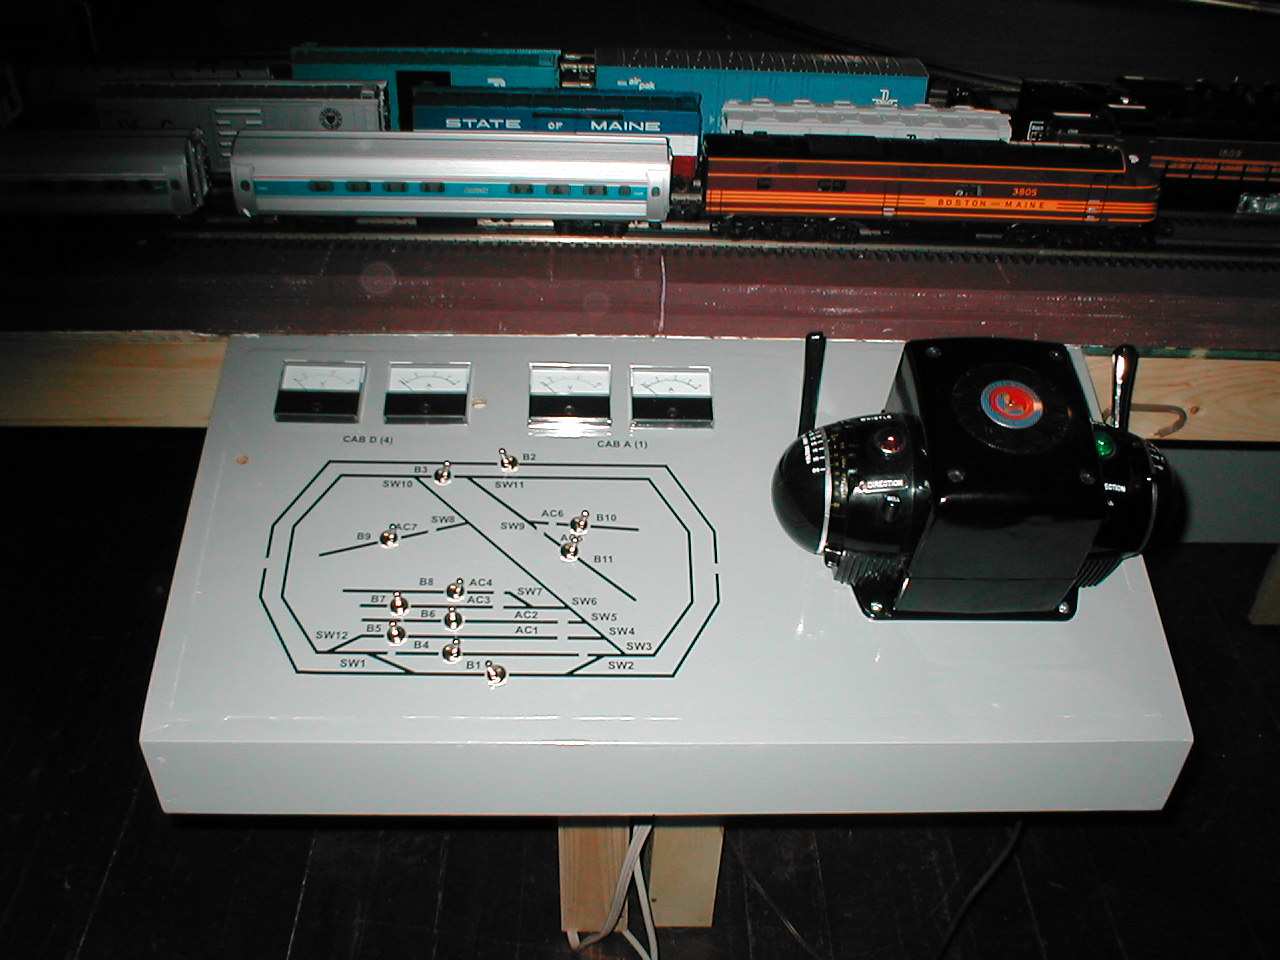 |
Why does such a high tech RR have such a low tech panel? Because it works. Sometimes you just want to throw a switch. This one is set up with two CABS. The left is CAB4 (Track 4) and right is CAB1(Track 1). The ammeters are scaled from 0 to 5 amps. This seems to be enough. The volts are 0 to 25.All feeds to the track originate under the control panel at the SPDT toggles. These main feeds to the toggles are accessed with just two "hot" connections, one for each CAB. This would make it very easy to interface an MTH TIU or a Lionel TPC400. Right now I run everything off of the ZW in TMCC mode. Once I set my blocks, I am free to roam about the table with the remote. Very cool!!! A power strip under the panel gives me grounded outlets and a master On-Off switch. |
 |
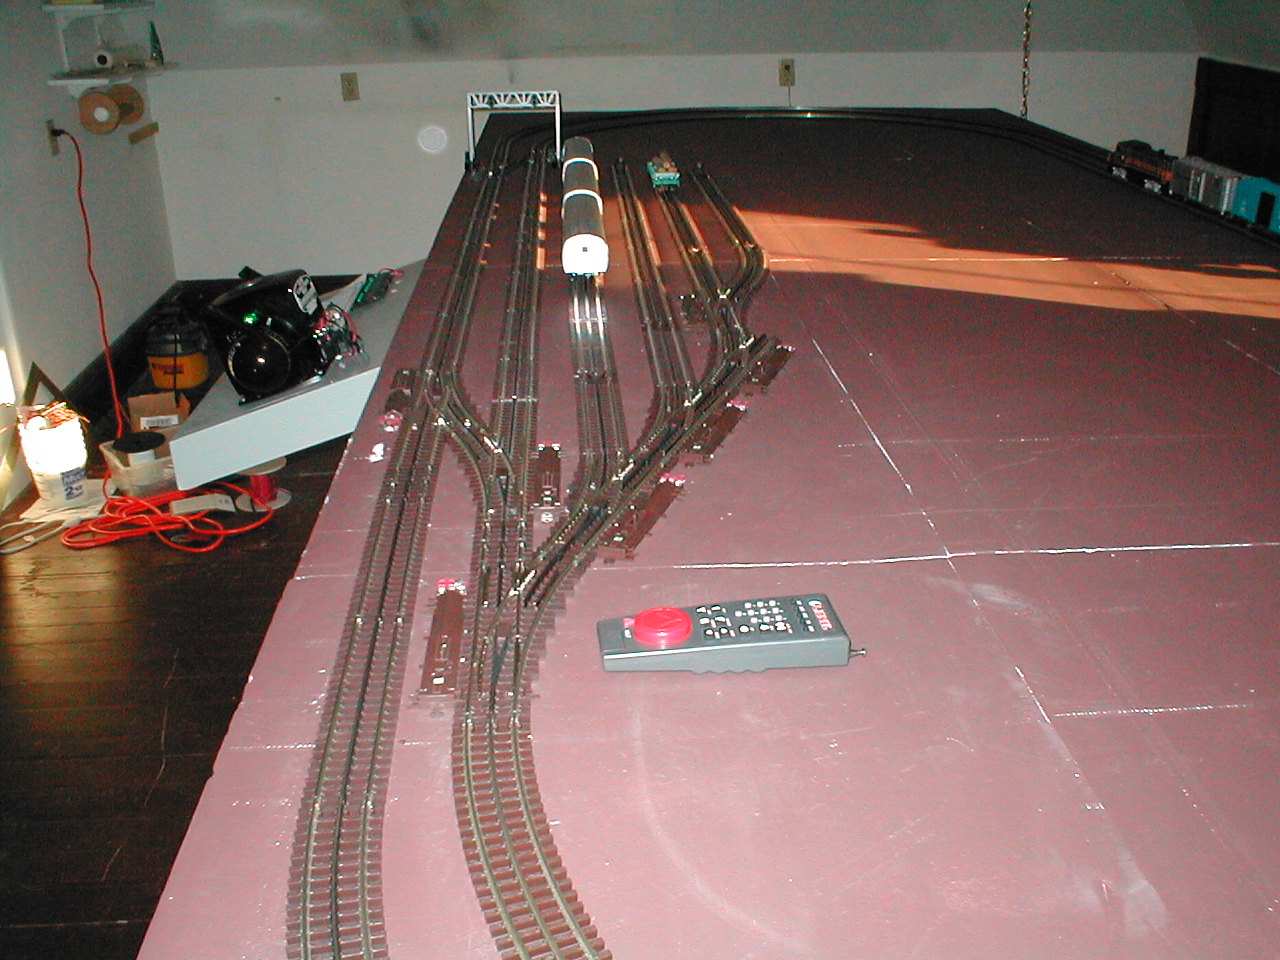
Here is a picture of my train mounted live video camera. This unit is very small and easy to use. It can be obtained from Omni Micro Camera at mini-cam website. This is a really unique way to see what your train engineer would be seeing. You can also see in this picture that the Vinylbed roadbed has been added to the layout. |
| Last but not least, the famous shot from the Goodyear Blimp including water drops on the lens. At 6 x 16 it's a small layout. I could not build it in to the attic because I am planning on moving it someday. Had I done this twenty years ago, it would have built-in. | 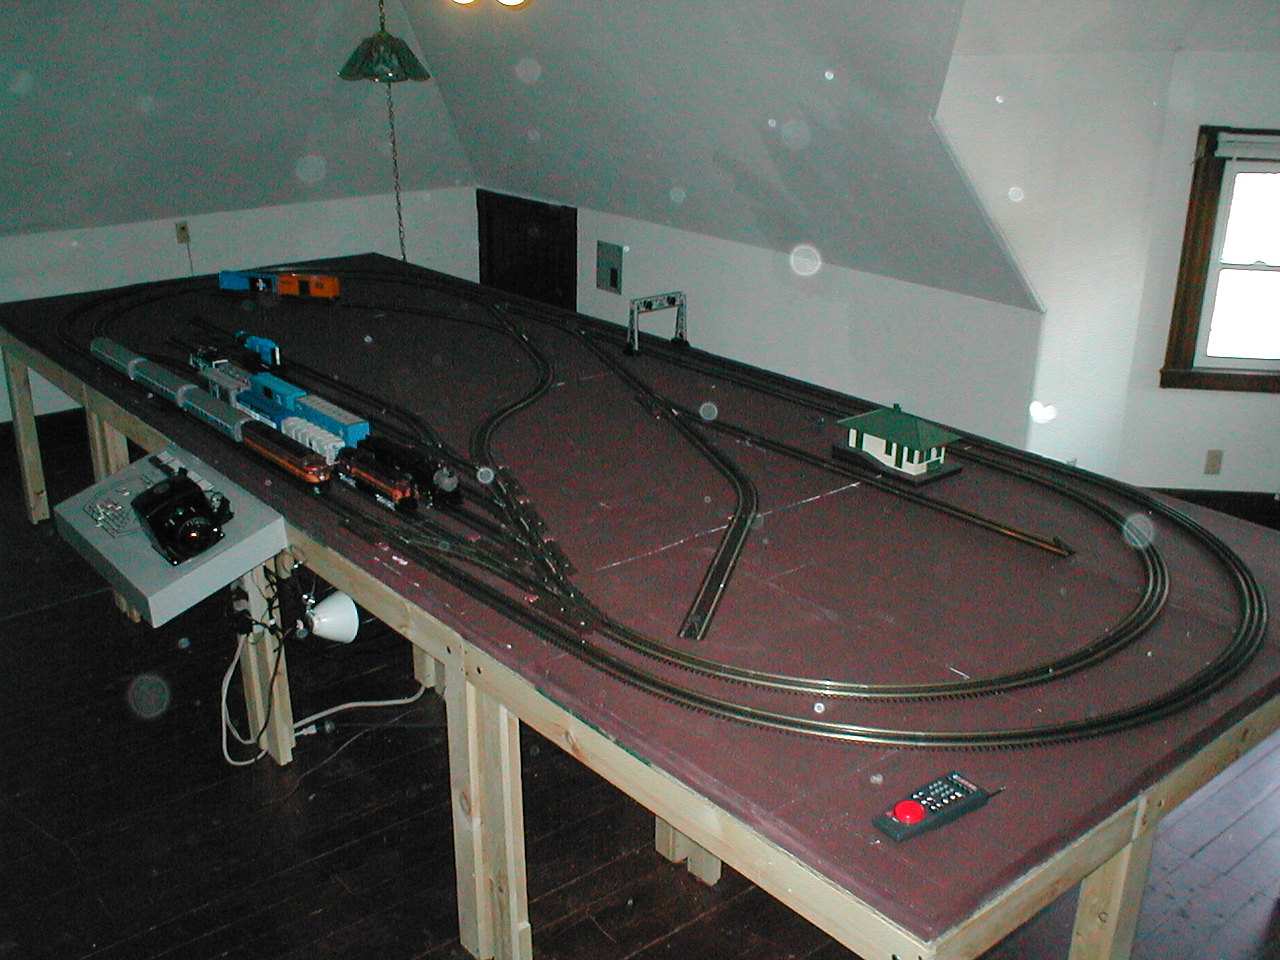 |
|
|
 |
|
|
 |
 |
 |
|
|
 |
|
|
 |