
Maine Central Layout 5' x
10' Realtrax and DCS\TMCC.
A toy train layout with full command or
optional conventional control,
three loops on two levels in a very small space.
(An expanded and enhanced layout from Thor's Website)

|
Click on any of the links at right to |
|
 |
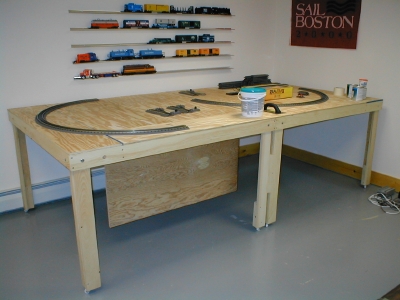
The benchwork is made up of two 5' x 5' tables bolted together. The 1"x 4" frames were covered with 1/2" plywood. Legs are placed in each table corner. At some point in the future, the tables could be disassembled and moved if necessary. See leg detail below. |
|
The electronics panel was mounted to the underside of the bench work. On the back of the panel, a shelf is mounted which will hold all of the bricks and the power strip. |
 |
 |
The table legs are made up of a 1"x3" and a 1"x4" glued and screwed together. A piece of 2" x 3" is glued and screwed at the bottom. Whatever caster or leveling leg you want can be inserted in the bottom of the 2"x3". In this case we used a swivel caster held in place with four screws. We could get away with this because the floor is poured concrete and we want to be able to move the table away from the wall. |
|
Grandson Jacob helps to spread the flooring adhesive which will hold the 1/2" Homosote to the plywood. He really likes this part of the project because he gets to make a big a mess and not get in trouble for it. |
 |
 |
After the Homosote was put down, we filled any cracks, and primed it with latex primer. We needed a "grassy" green for the base coat on the Homosote, so Jacob and I went to the paint store. We couldn't make up our minds on a shade, so we went across the street to the Post Office in Saco, Maine and picked some grass. We brought the grass back to the paint store and they matched the color in no time. It's California "Grasshopper Green". |
|
Our electronics panel mounted below the tables. All wires are home runs back to terminal strips. The genius of the MTH system with banana plugs is that we will be able to instantly configure any one of the three loops as Command or Conventional just by plugging in the loop leads to either a Fixed or Variable channel on the TIU. We will be like Lilly Tomlin..."number please." At present we are running the entire layout off of one MTH Z-500 brick. TMCC capability as well with new MTH cable installed. |
 |
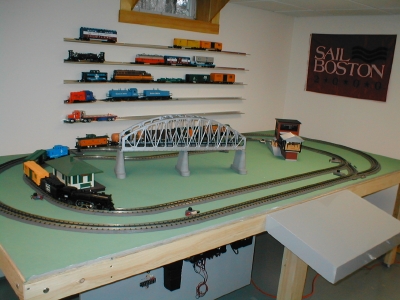 |
Some of the track for the lower two loops is now in place. Everything seems to fit according to plan. Waiting for the paint to dry on the control panel. All turnouts, un-couplers, and accessories will be controlled both by DCS and with individual levers and switches. A programming track will be wired as well. Eventually a New ZW will be mounted in the upper right hand corner of the panel for conventional control with handles. |
|
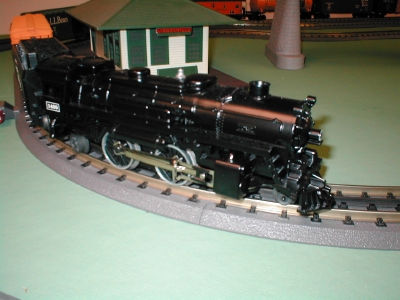
Here comes the B&M LL Bean Steam Engine for a test of conventional control on the inner loop. The drivers on the loco were jumping off the track at the 0-31 RealTrax turnouts. We had to use the Dremel tool to smooth out the switch points. After that the little loco behaved perfectly. |
 |
 |
Our prize from York. Would you believe we paid only $99.00 for this Transfer Dock? Amazing. I hope it fits in this spot. What a neat accessory !
|
|
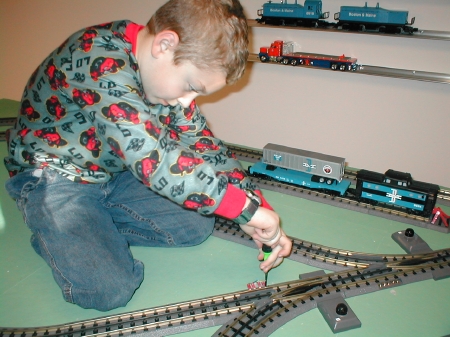
Making the connection. Jacob is busy connecting the wires to the turnouts. He is really into the wiring and his little hands (and good eyesight) make him a natural at it. |
 |
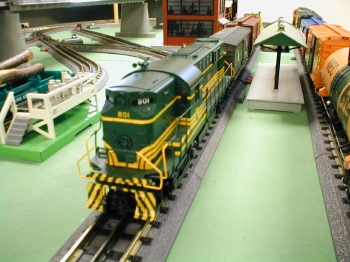 |
MEC No. 801. This is the new Weaver RS-11 with TMCC. It is a nice model and I bought it for the roadname and color scheme. But weaver has a little work to do in my opinion to match the current quality of Lionel and MTH. |
|
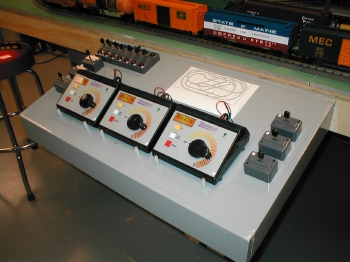
Here is my control panel. All three loops can be run in conventional or command with TMCC and DCS. Turnouts can be activated with DCS or manually. Uncouplers are strictly manual. |
 |
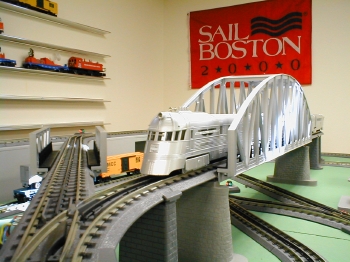 |
The Flying Yankee crossing the bridge over Elm St. in Biddeford, Maine on her way to Saco Station. This is a very unique train set from MTH, with PS-2 of course. |
|
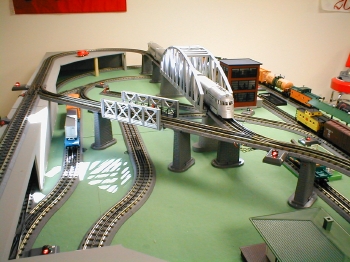
The overall view of the two level, three loop layout. |
 |
| Framing Detail for two 5' x 5' tables. |
 |
|
This diagram gives an idea of how the 5 x 5 foot tables were built using 4x8 foot materials. I was fortunate that my lumber yard does mill work as part of it's service to contractors. The frames are made of 1"x 4" pine from 10 foot lengths cut to size and glued and screwed together. 2" x 4"s were used at the plywood seams to provide support. The frames were covered with 1/2" plywood. I had two sheets of plywood cut as follows. One sheet was cut in half to 4' x 4' pieces. The other sheet was ripped in 1' strips length wise. This provided all the pieces necessary to cover the frames with a little left over. I did the same with the homosote, but when applying it we staggered the joints so it would even out the surface. |